
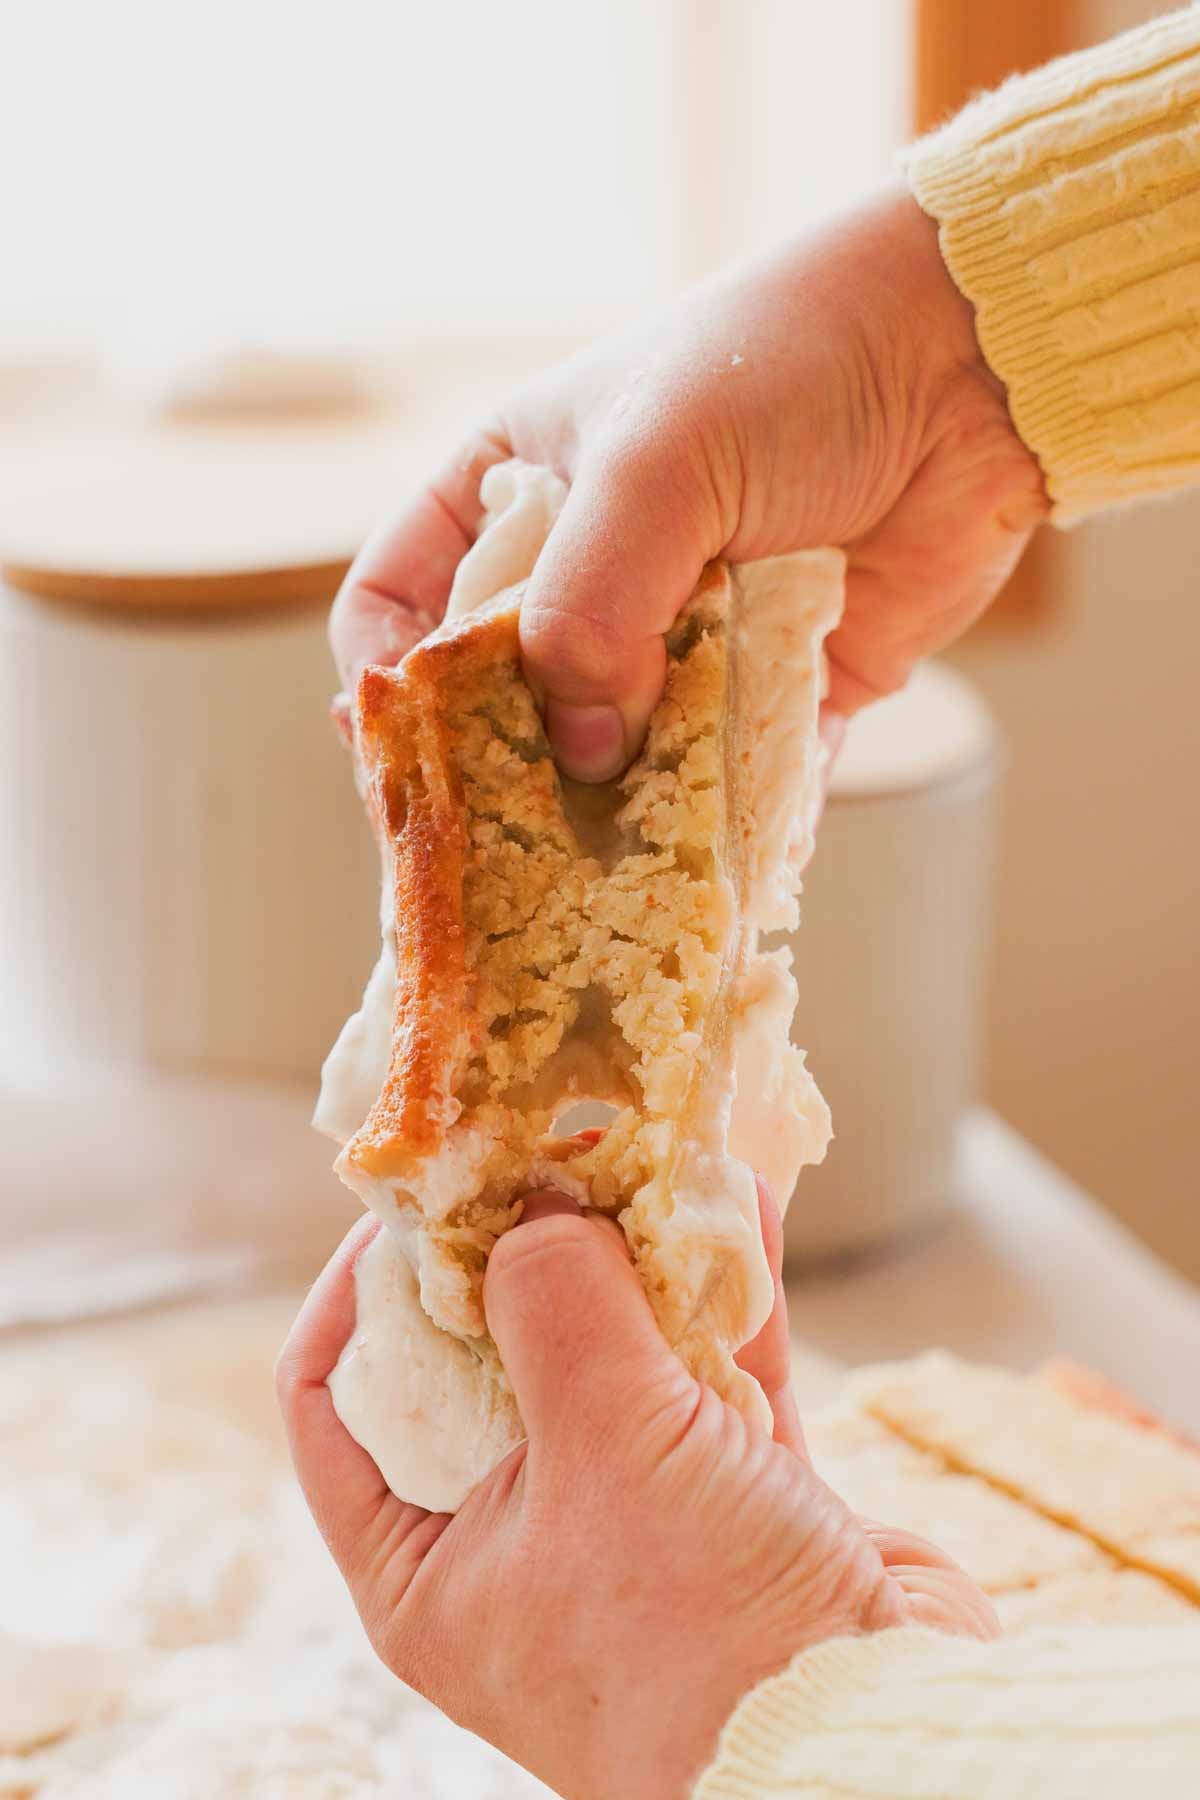
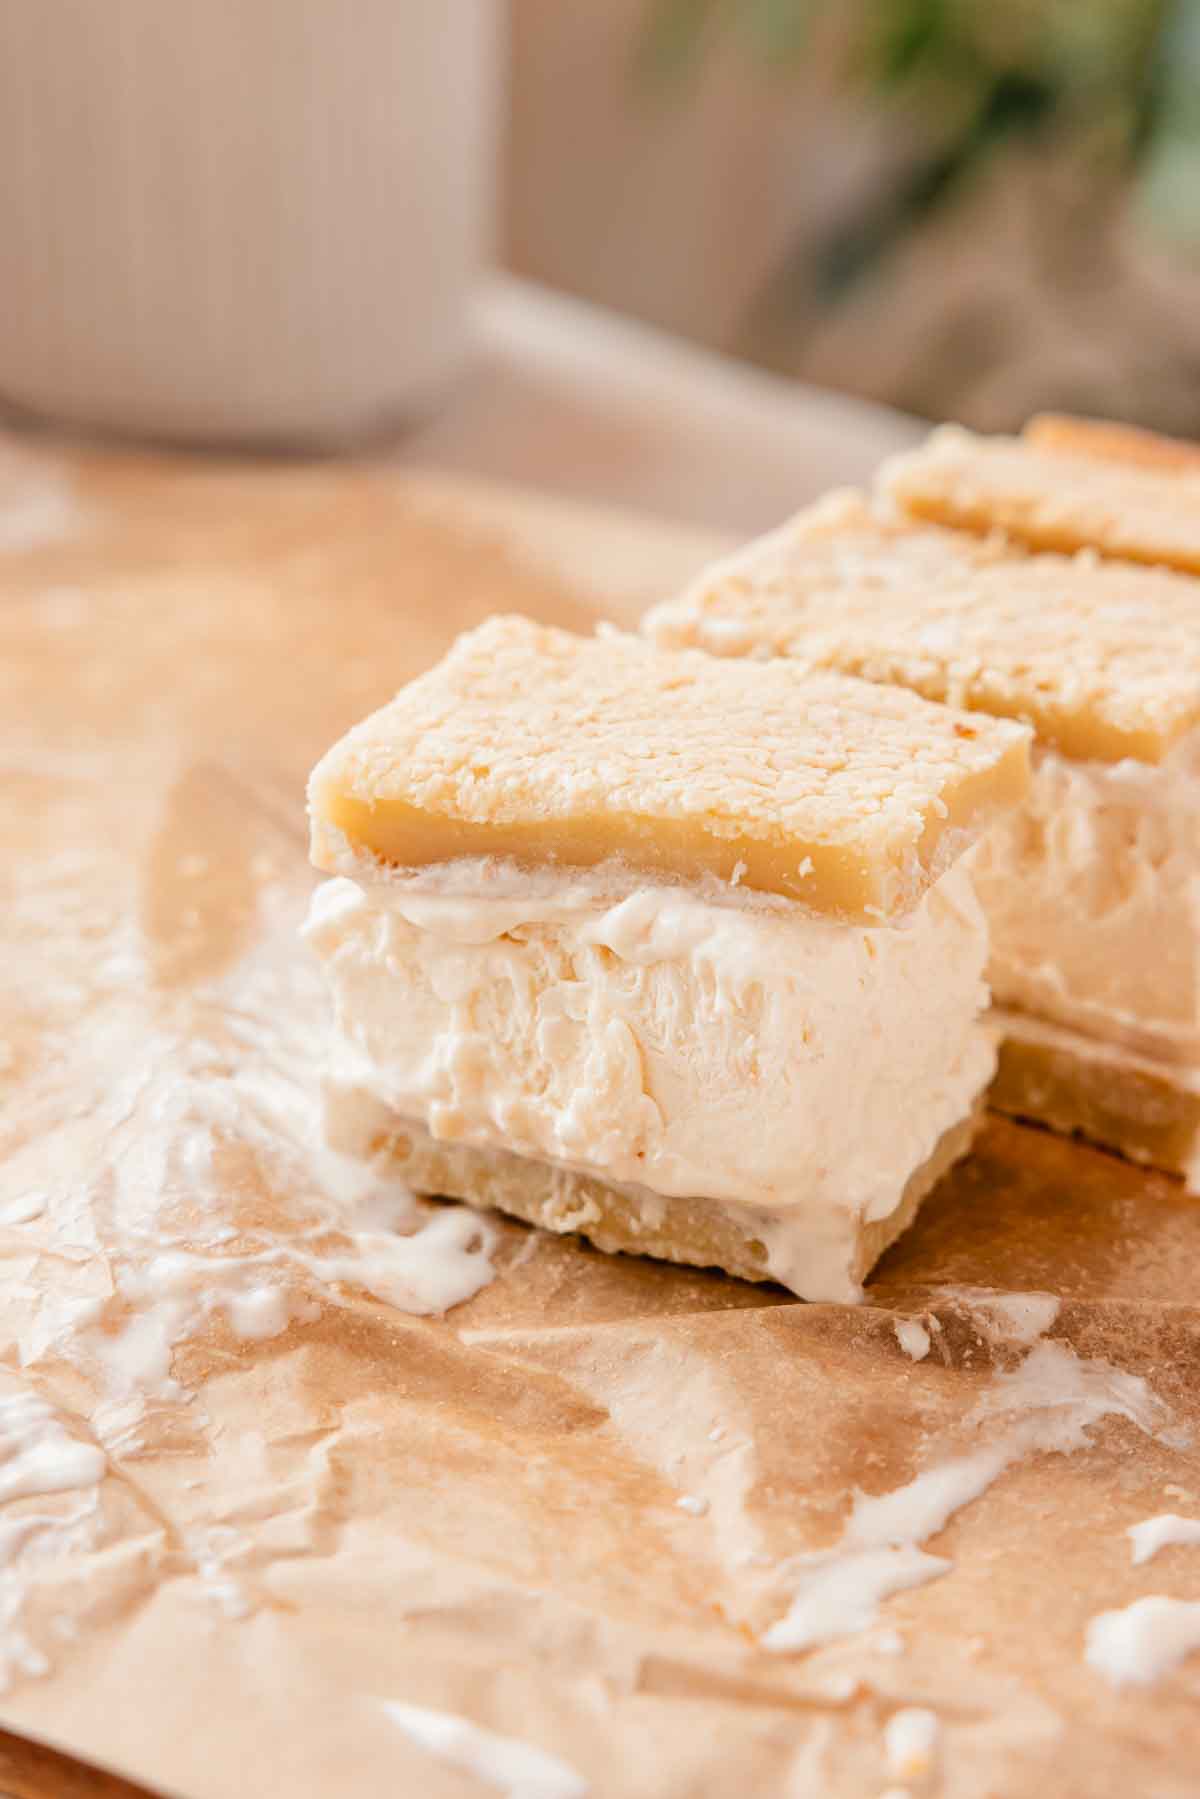
These butter mochi ice cream sandwiches are soft, buttery, and chewy, filled with an easy, toasted coconut no churn ice cream. If you love mochi ice cream, you will love these ice cream sandwiches! The mochi is buttery, caramelized, and coconutty. Plus, you only need one bowl to make the butter mochi batter - it's so easy.
These mochi ice cream sandwiches are great to make ahead and have on hand throughout the summer.
Jump to:
🍦 Why you'll LOVE this recipe
- Butter mochi: Two thin layers of chewy, rich butter mochi, caramelized to perfection.
- Coconut: With shredded coconut and coconut milk in both the butter mochi and toasted coconut ice cream, these sandwiches are full of toasty coconut flavor.
- No churn toasted coconut ice cream: Made from a few simple ingredients, it turns out delicious and you don't need an ice cream machine! Just mix together and freeze.
📝 Key ingredients
Read through for all the tips you will need for success!
Full steps and ingredients in recipe card below.
- Glutinous rice flour: Also known as sweet rice flour or mochiko, and not to be confused with regular rice flour. It does not have gluten like the name implies. Glutinous rice flour has that satisfying stretchy and chewy texture when cooked.
- Milk: I love adding whole milk into the butter mochi. You could use your milk of choice, but whole milk adds a delicious dairy flavor.
- Butter: Makes the butter mochi rich and buttery, and gives it caramelized golden edges.
- Coconut milk: Make sure you use canned coconut milk. I don't recommend using coconut milk in milk containers as it usually has other additives and won't make the butter mochi as rich and coconutty.
- Eggs: Add a custard-like flavor to the butter mochi.
- Shredded coconut: Some gets toasted for the ice cream and some gets sprinkled on top of the butter mochi before baking to create a golden coconut crust. You could use sweetened or unsweetened coconut.
- Heavy whipping cream: Use chilled, 35% whipping cream to whip to stiff peaks.
- Sweetened condensed milk: This is an essential ingredient for no churn ice cream. The sugar and protein prevents crunchy water crystals from forming in the ice cream sandwiches.
👩🍳 How to make butter mochi ice cream sandwiches
Toasted coconut ice cream step by step
Tip: I like to make the ice cream filling the day before so that it has enough time to freeze. You can make the butter mochi the day before as well. Or make it the day of just make sure it has enough time to cool down and freeze for 25 minutes before putting the ice cream sandwiches together.
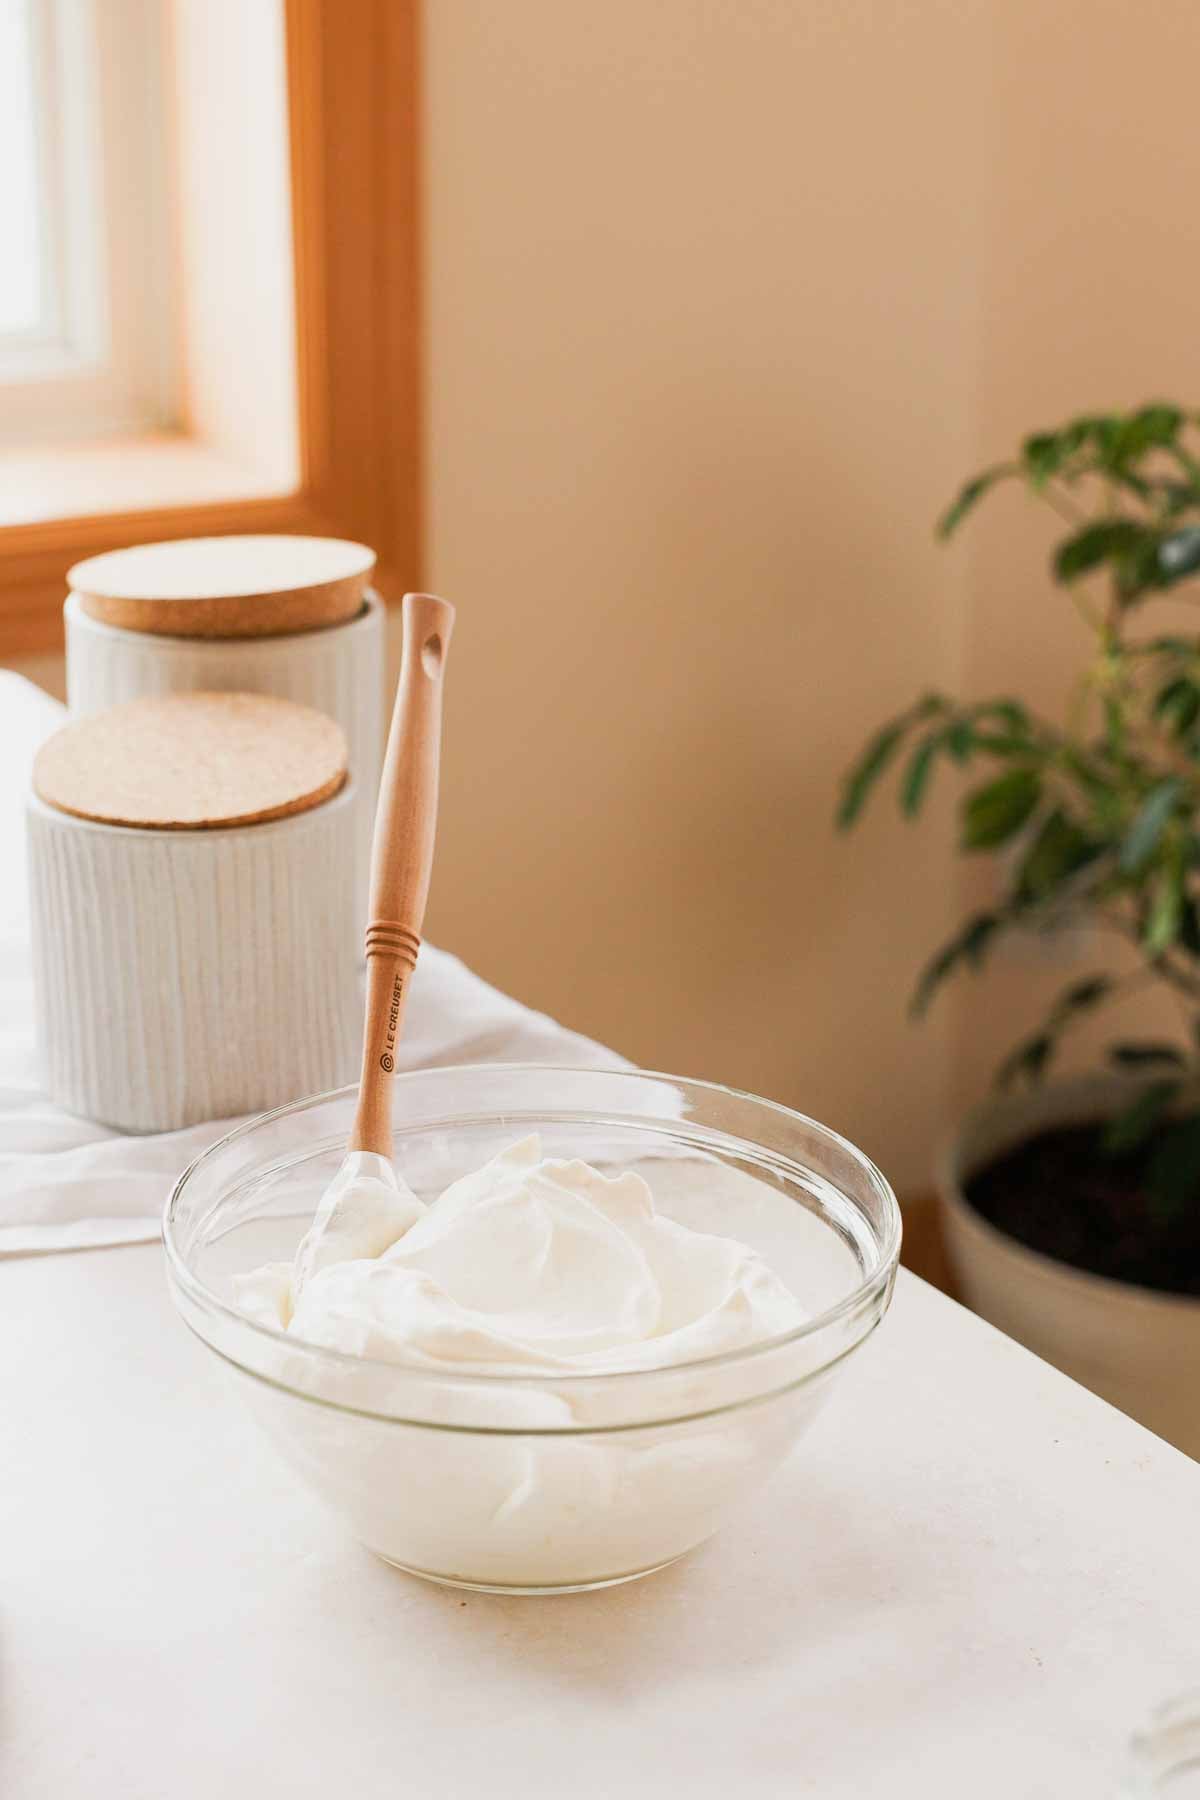
Step 1: Toast the coconut in a dry pan on medium heat, stirring constantly until golden. Immediately transfer it into a bowl to cool.
Whip the cream to stiff peaks with a whisk or electric mixer.
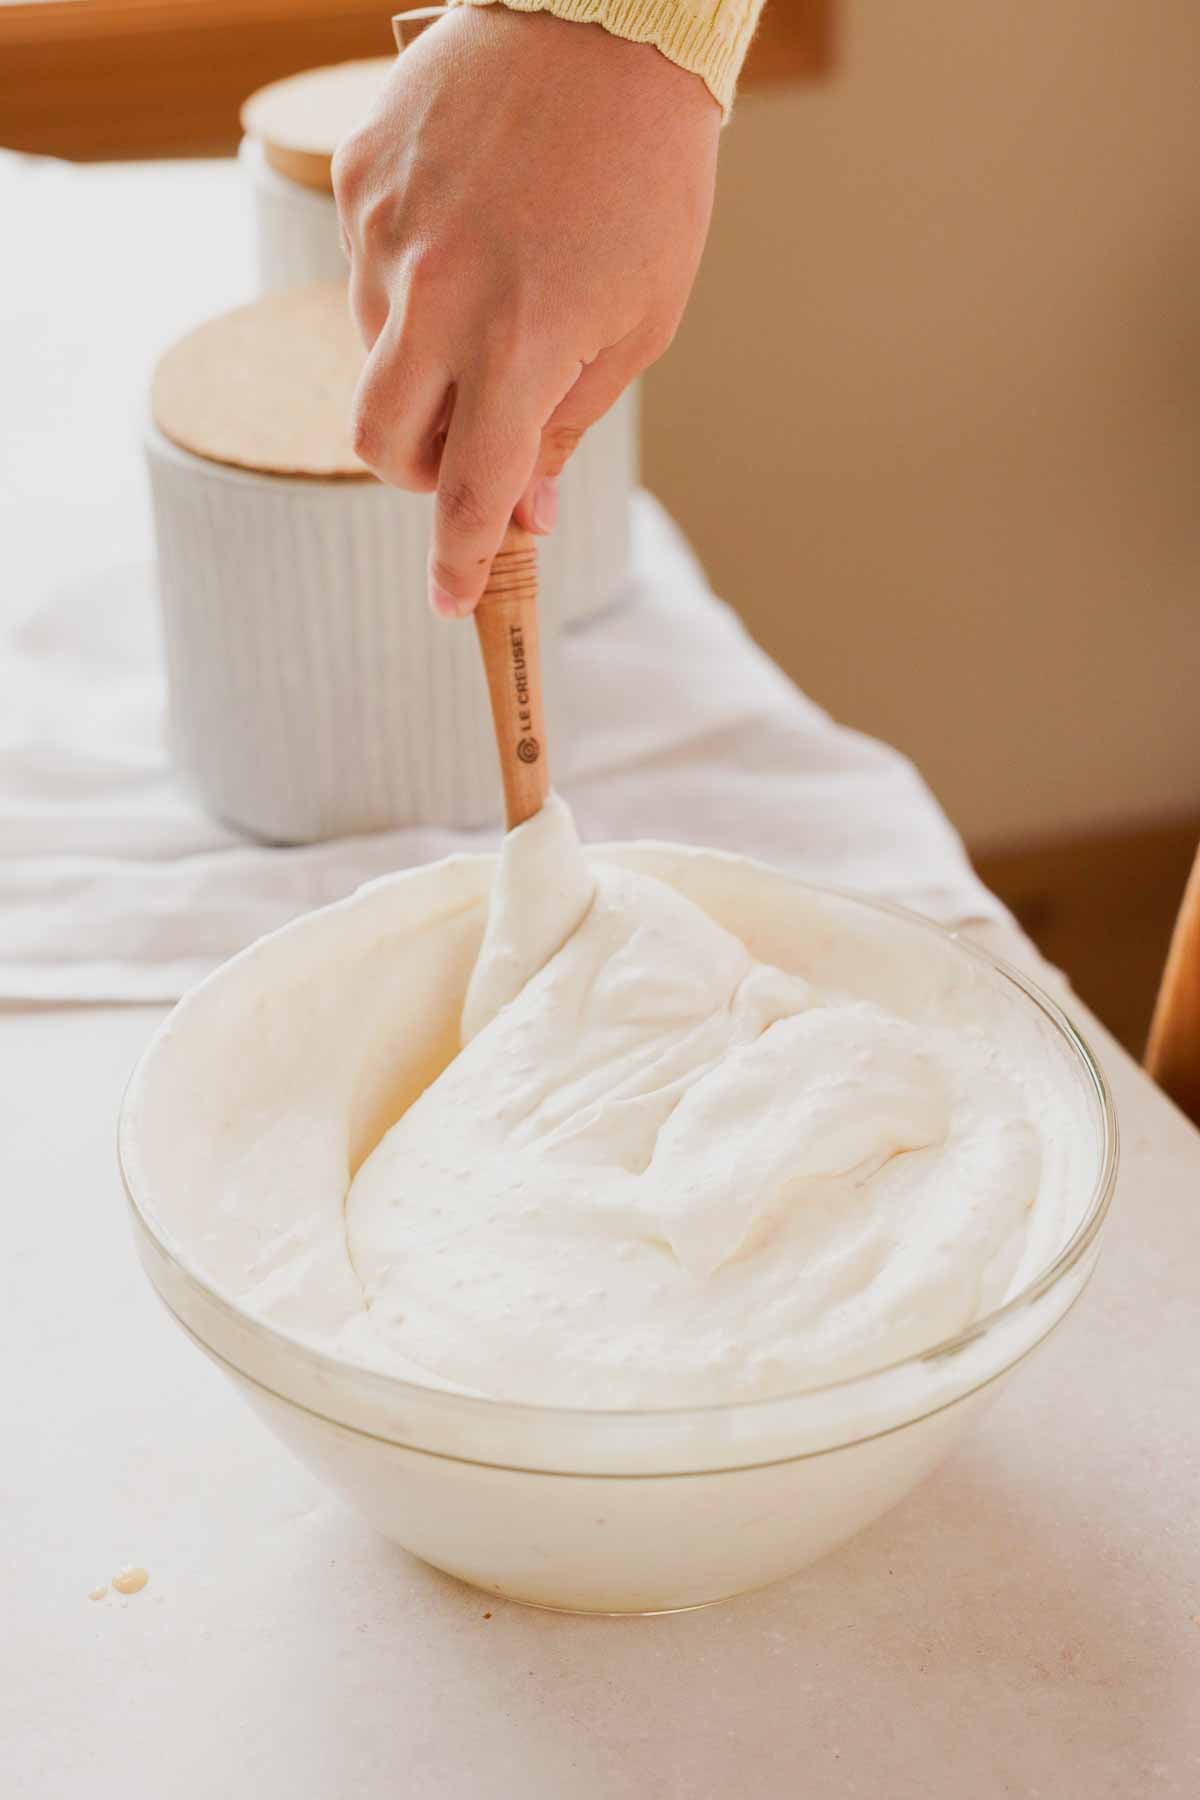
Step 2: Add sweetened condensed milk, vanilla extract, ½ can of coconut milk, and the cooled toasted coconut into the cream.
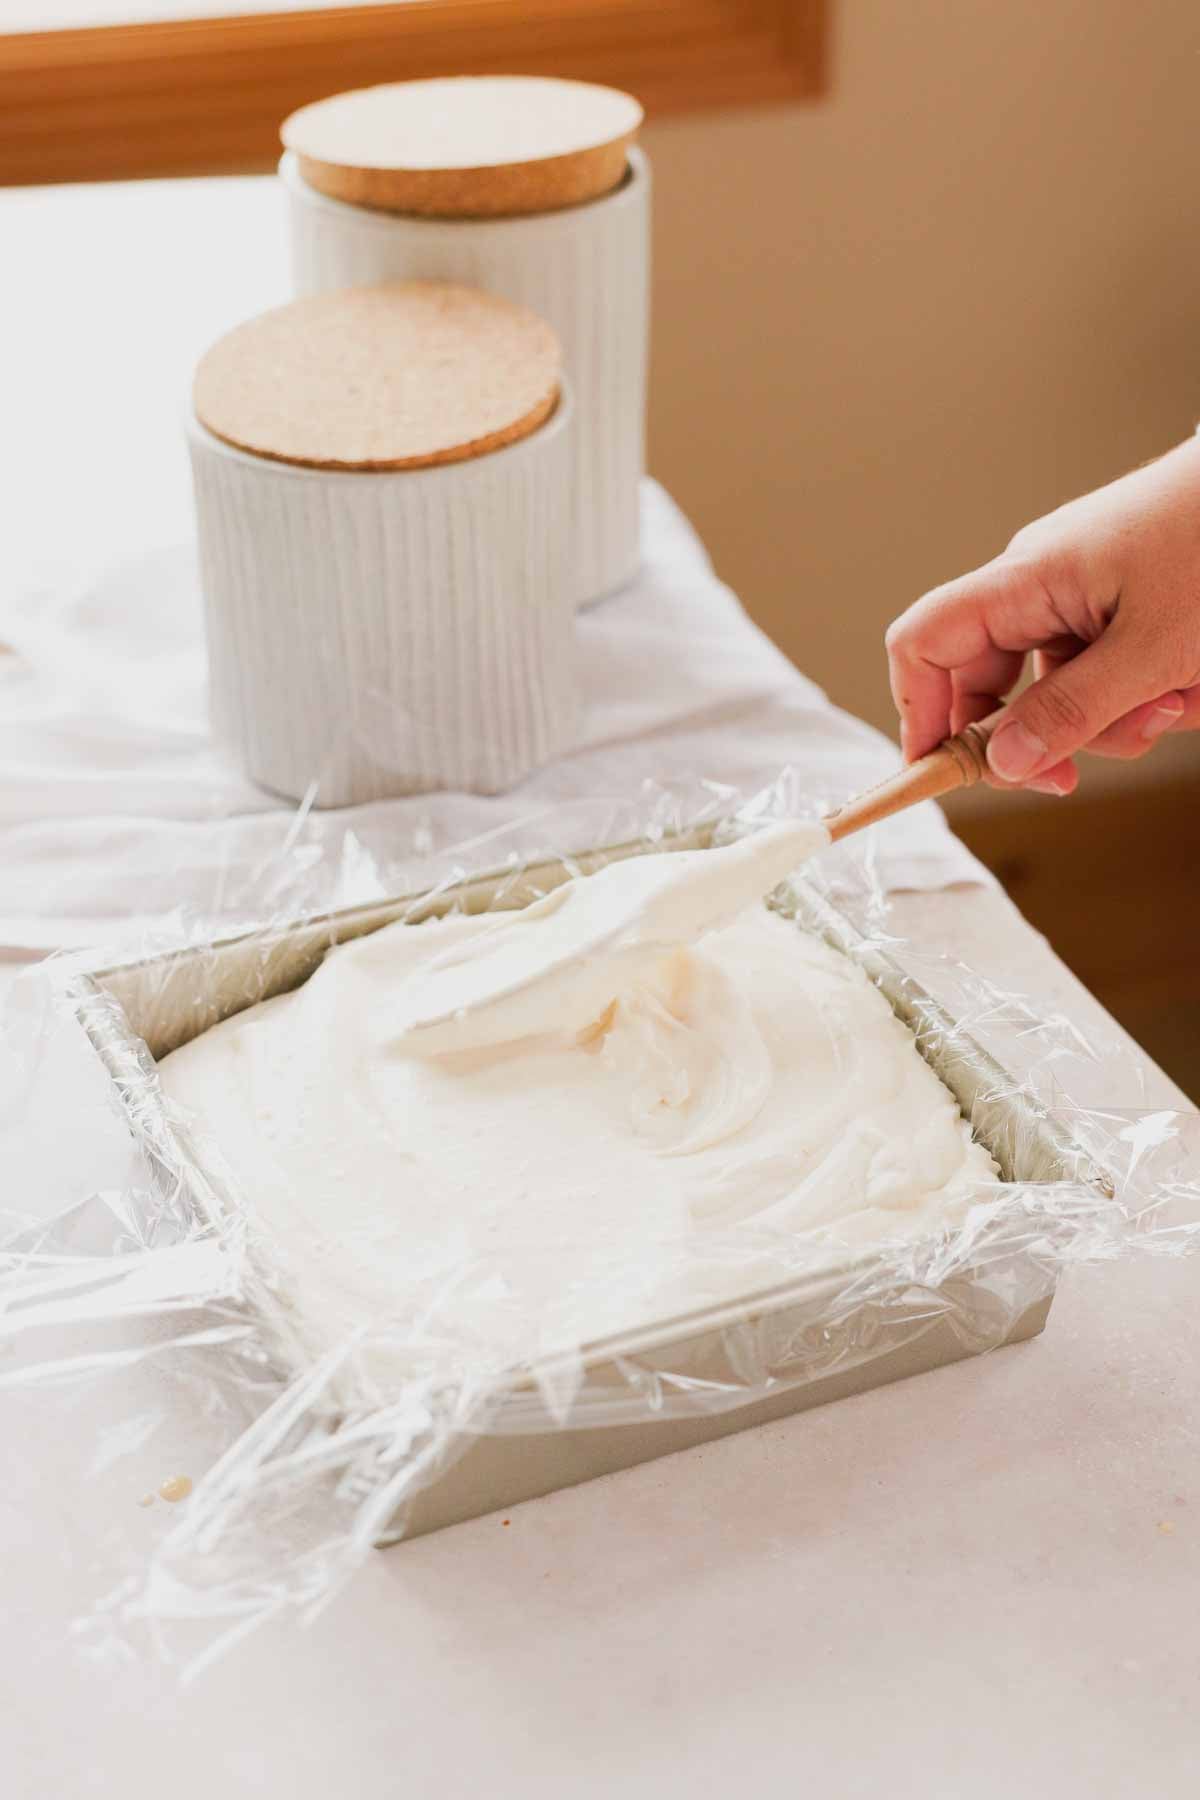
Step 3: Transfer the ice cream into a parchment or plastic wrap lined 9" square pan.
Cover and freeze for at least 8 hours or overnight.
Butter mochi step by step
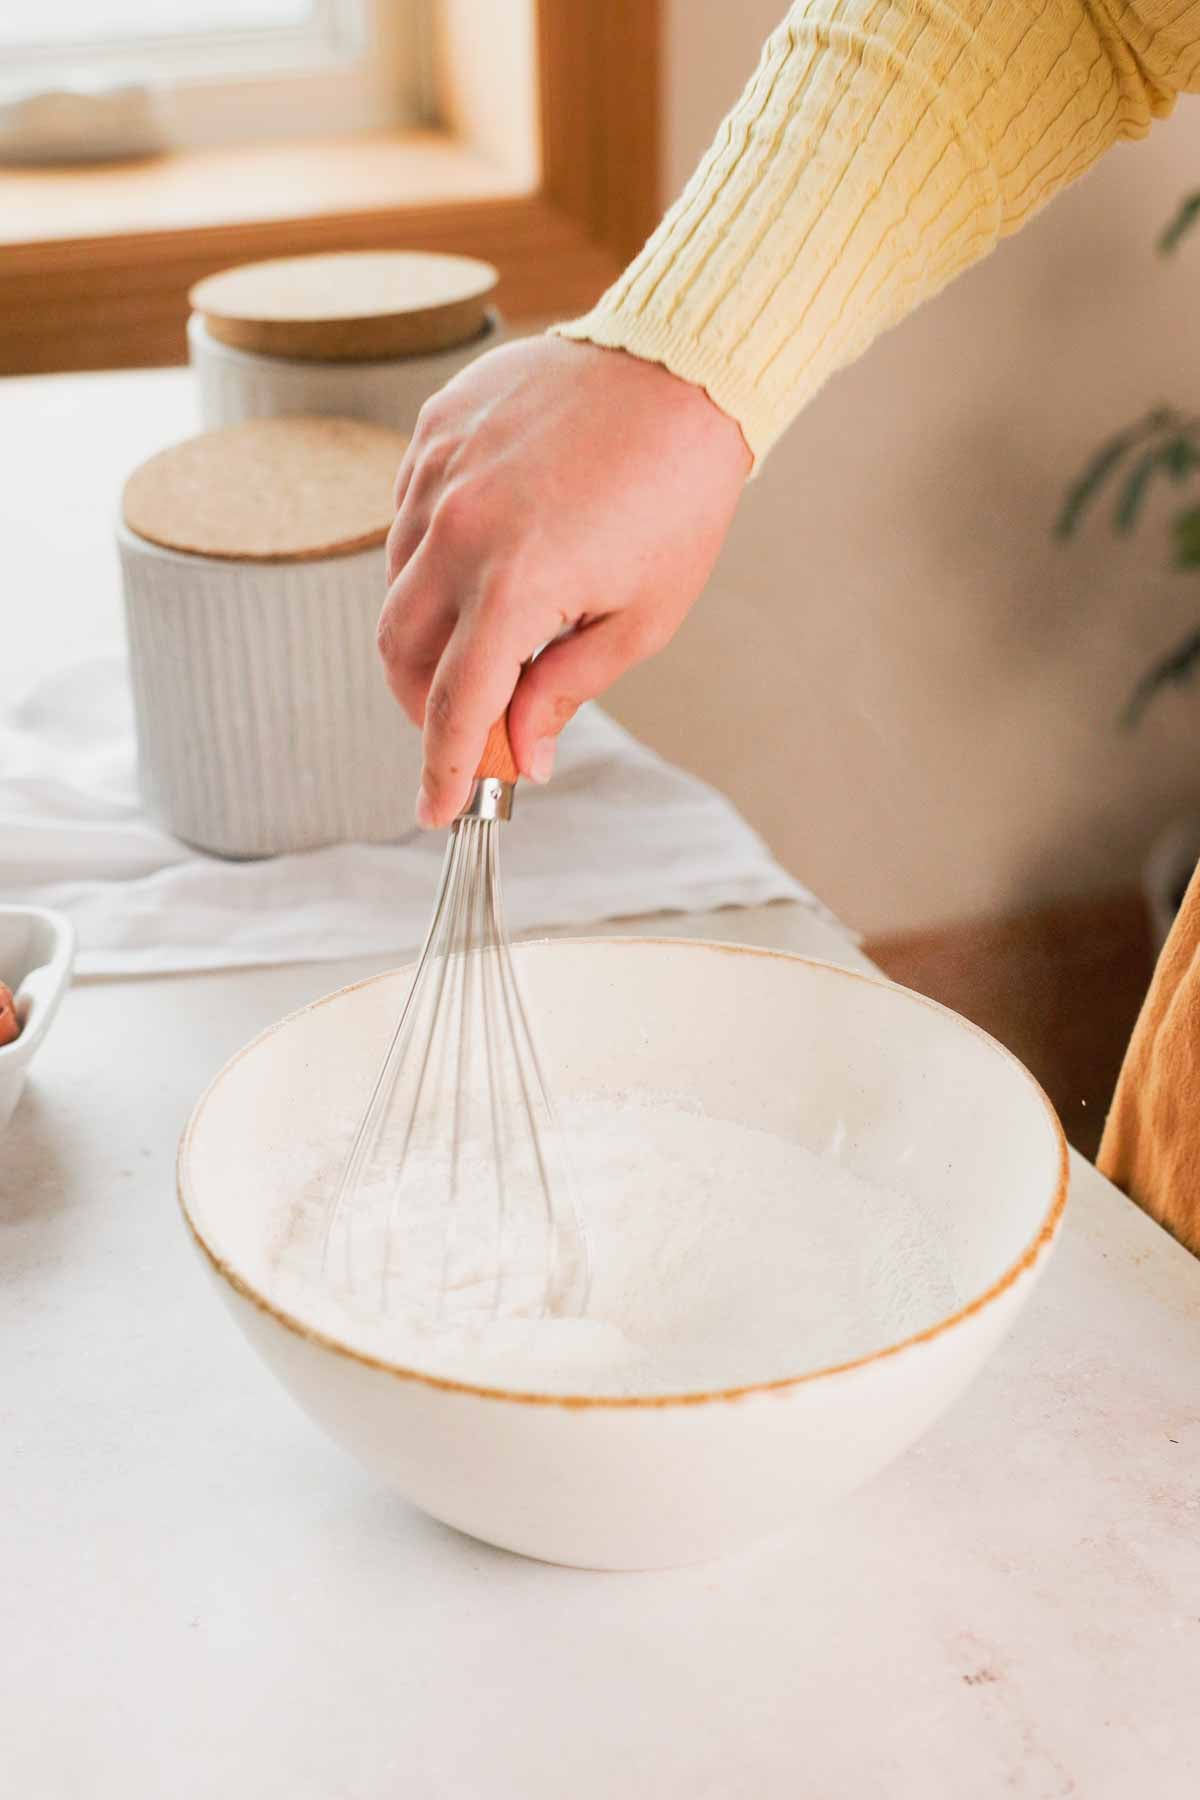
Step 1: Combine glutinous rice flour, granulated sugar, baking powder, and sea salt in a large bowl. Whisk well.
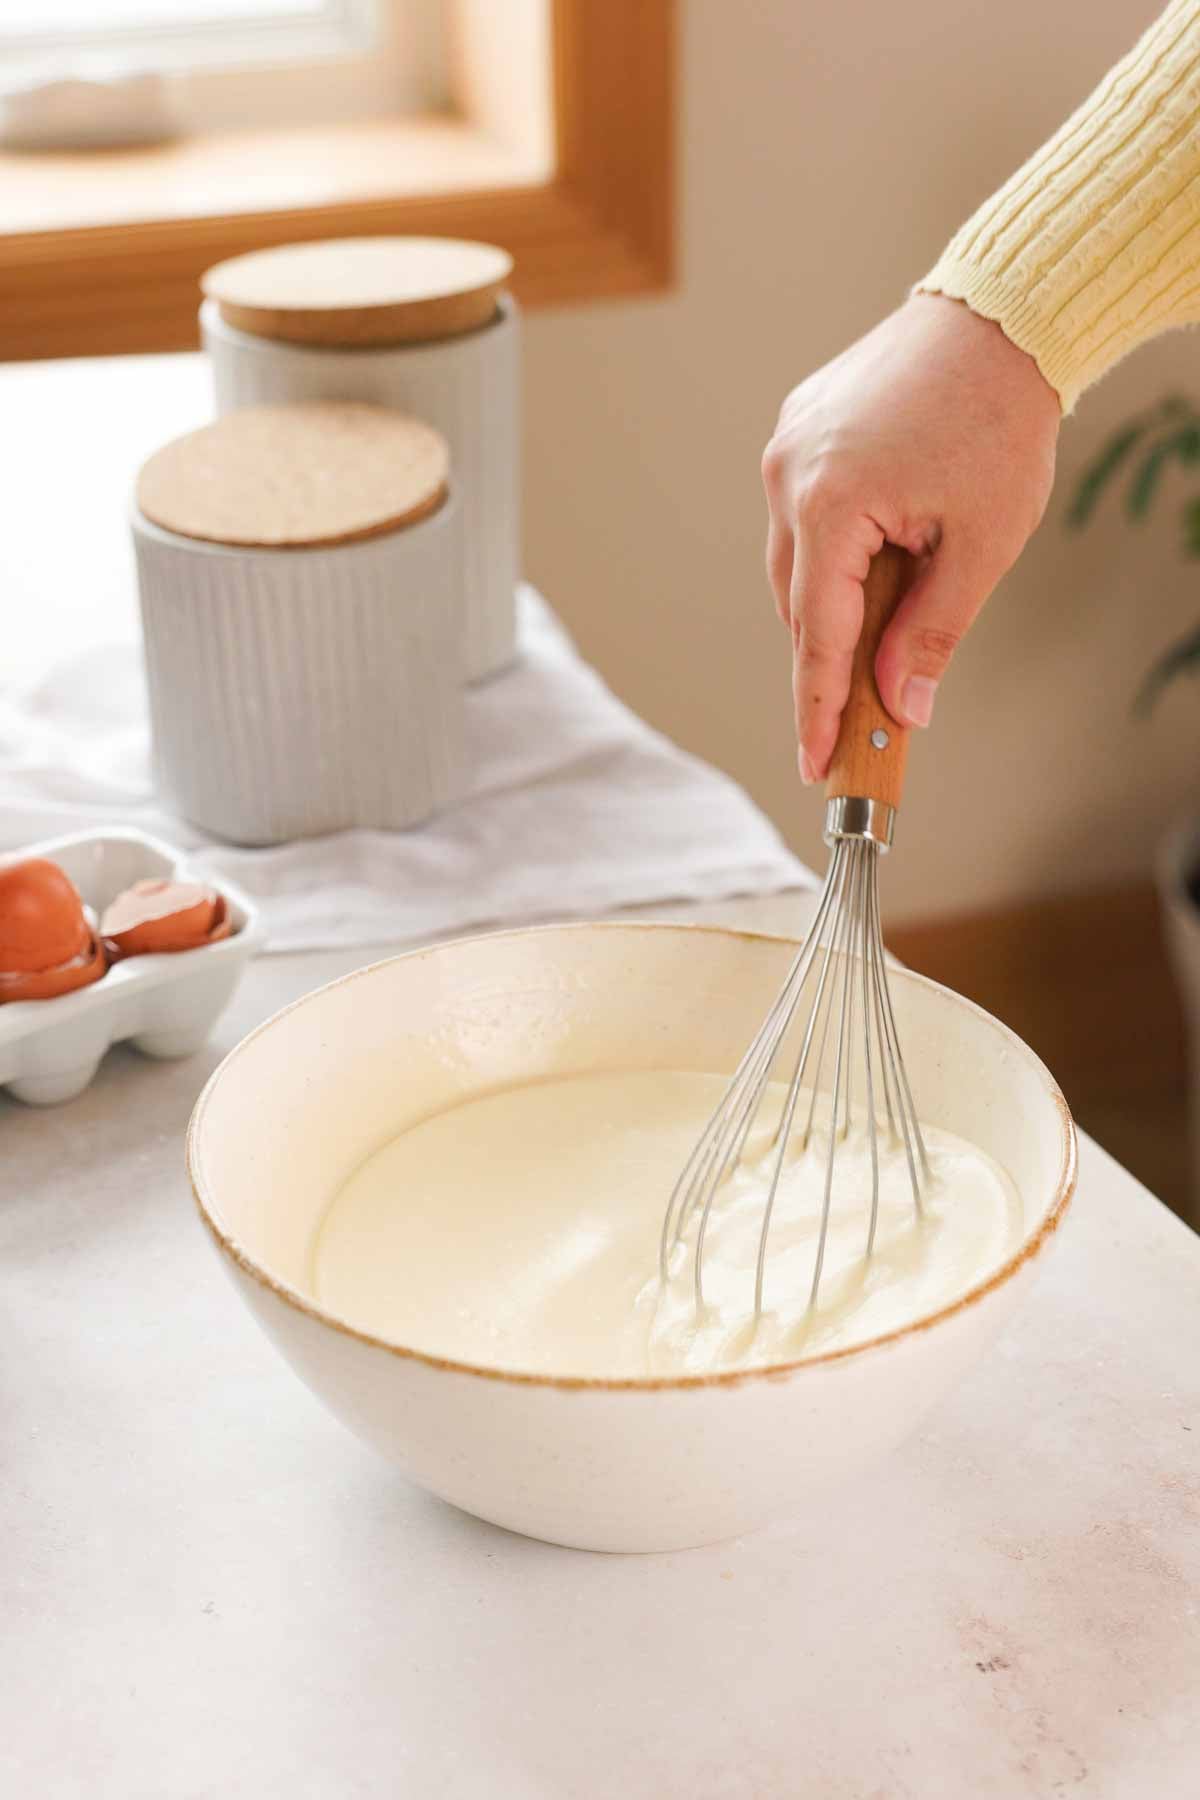
Step 2: Add milk, melted butter, eggs, vanilla extract, and coconut milk into the bowl. Whisk well to break up any lumps.

Step 3: Pour the batter into a parchment lined 9" by 12" baking pan. Sprinkle coconut on top.
Bake at 355°F (180°C) for 30-35 minutes until the top is bubbling and the edges are very golden brown and crisp.
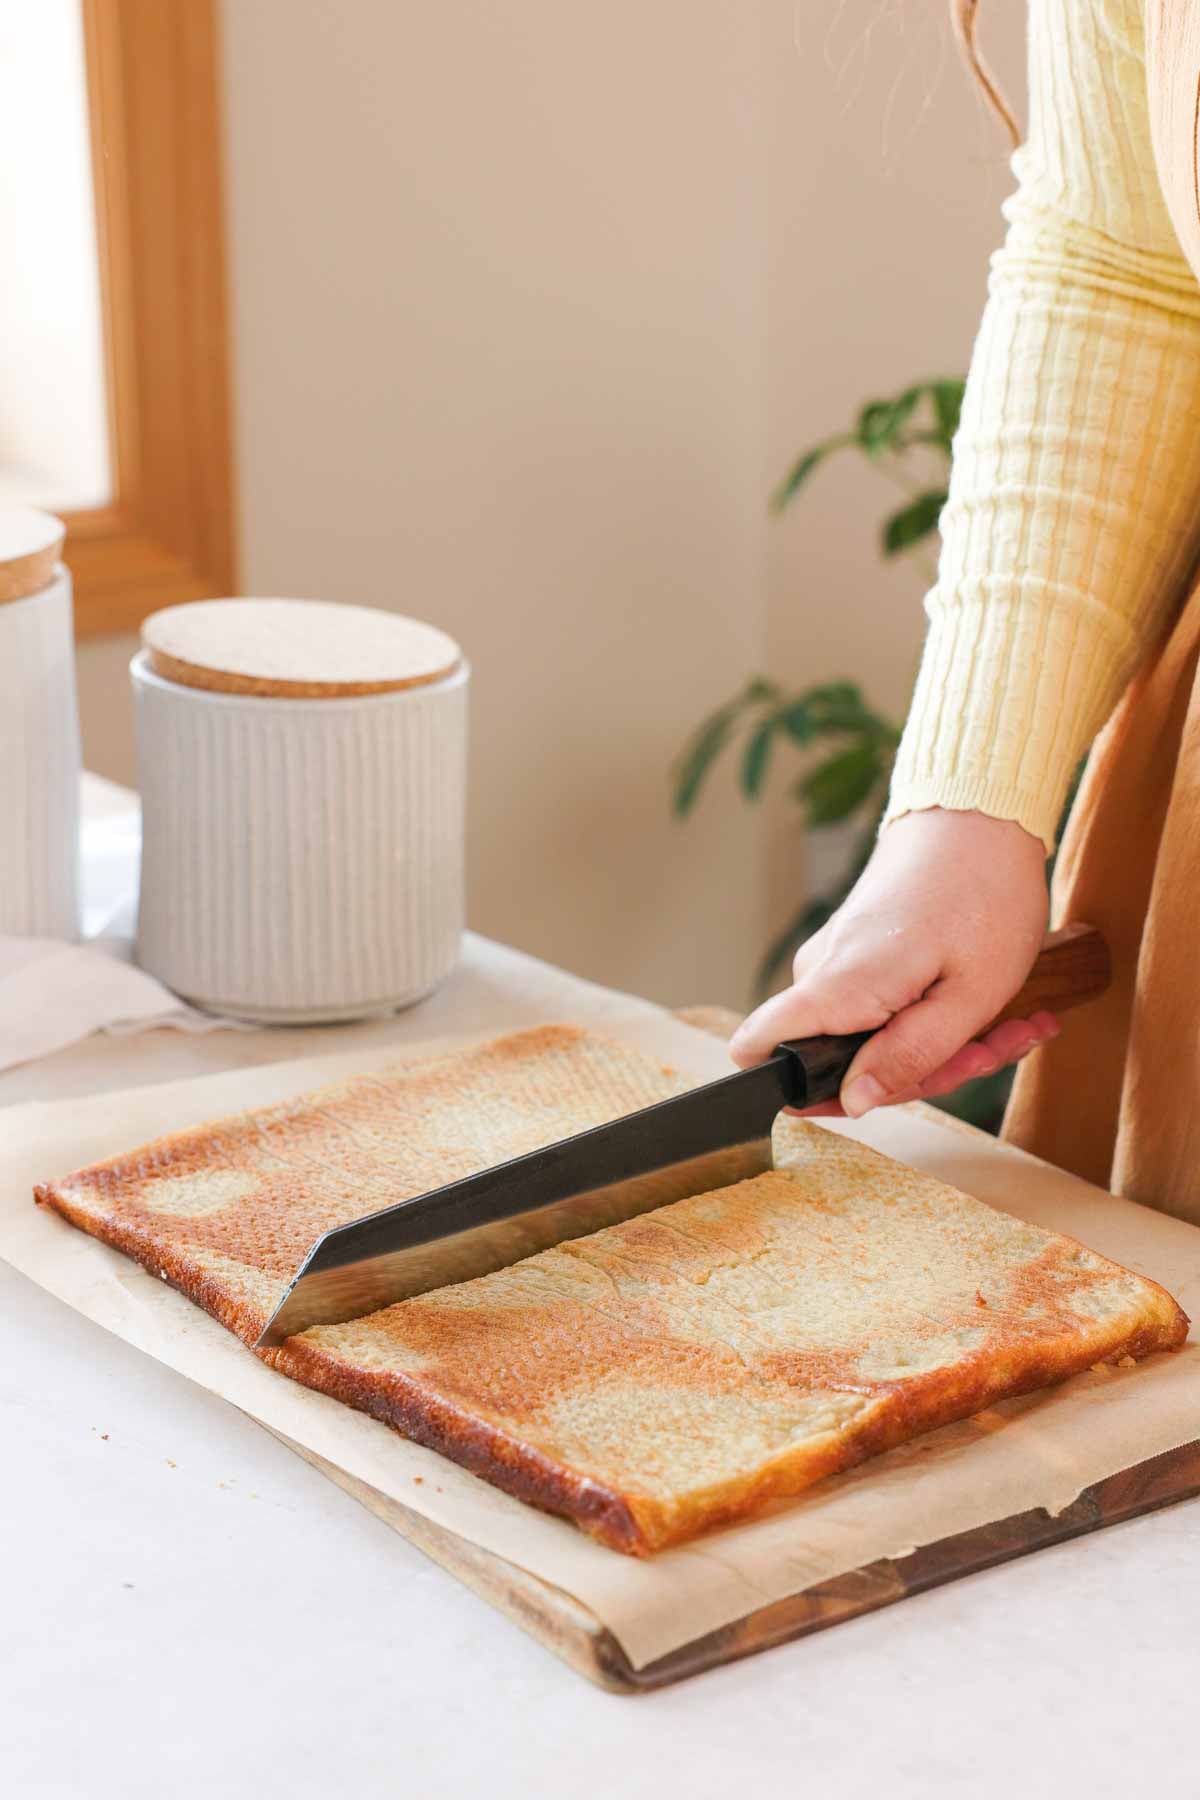
Step 4: Let the butter mochi cool inside the pan. Flip it out onto a parchment lined cutting board and cut it in half. Freeze the two halves for at least 25 minutes (or overnight) before sandwiching the ice cream between them.
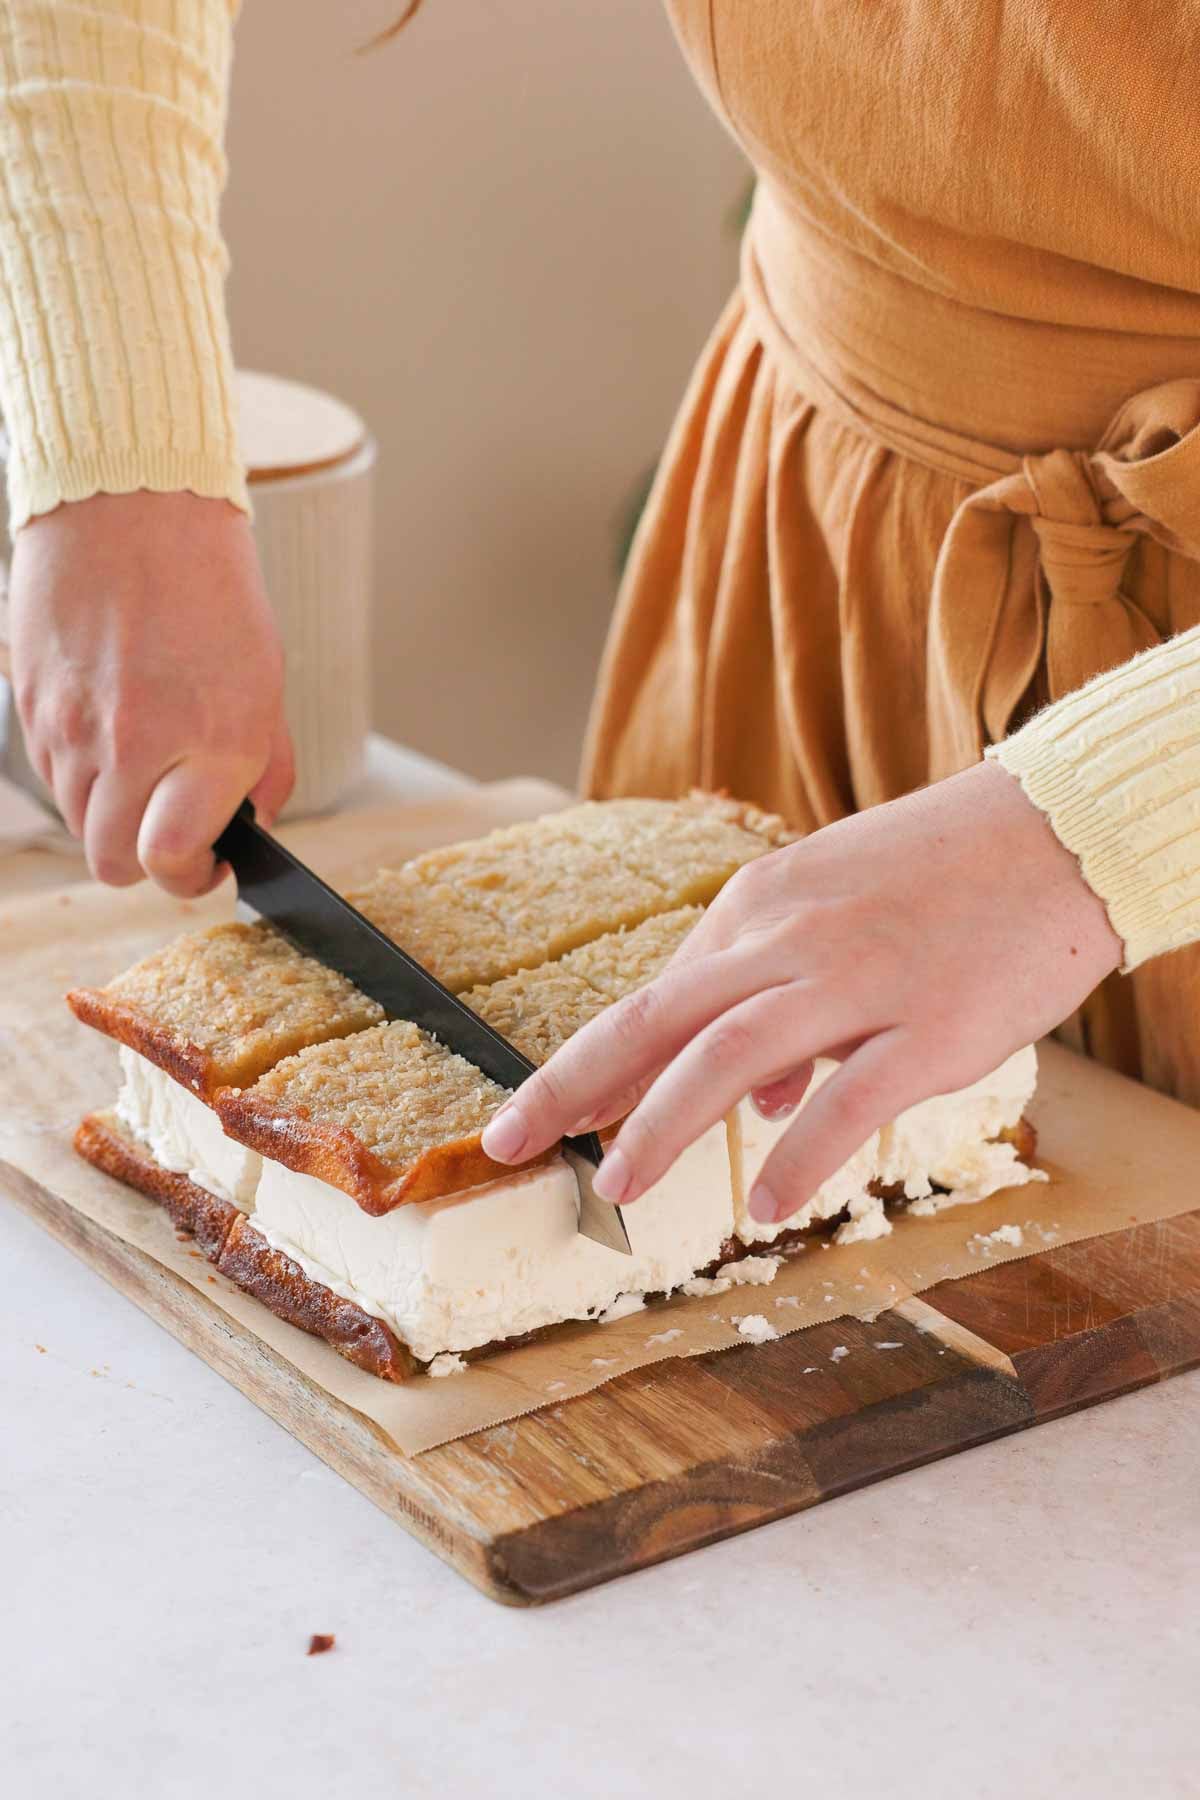
Step 5: Unwrap the ice cream and sandwich it between two layers of butter mochi. Cut it into 8 rectangles. Wrap individually in wax paper or plastic wrap and store in the freezer until you're ready to enjoy!
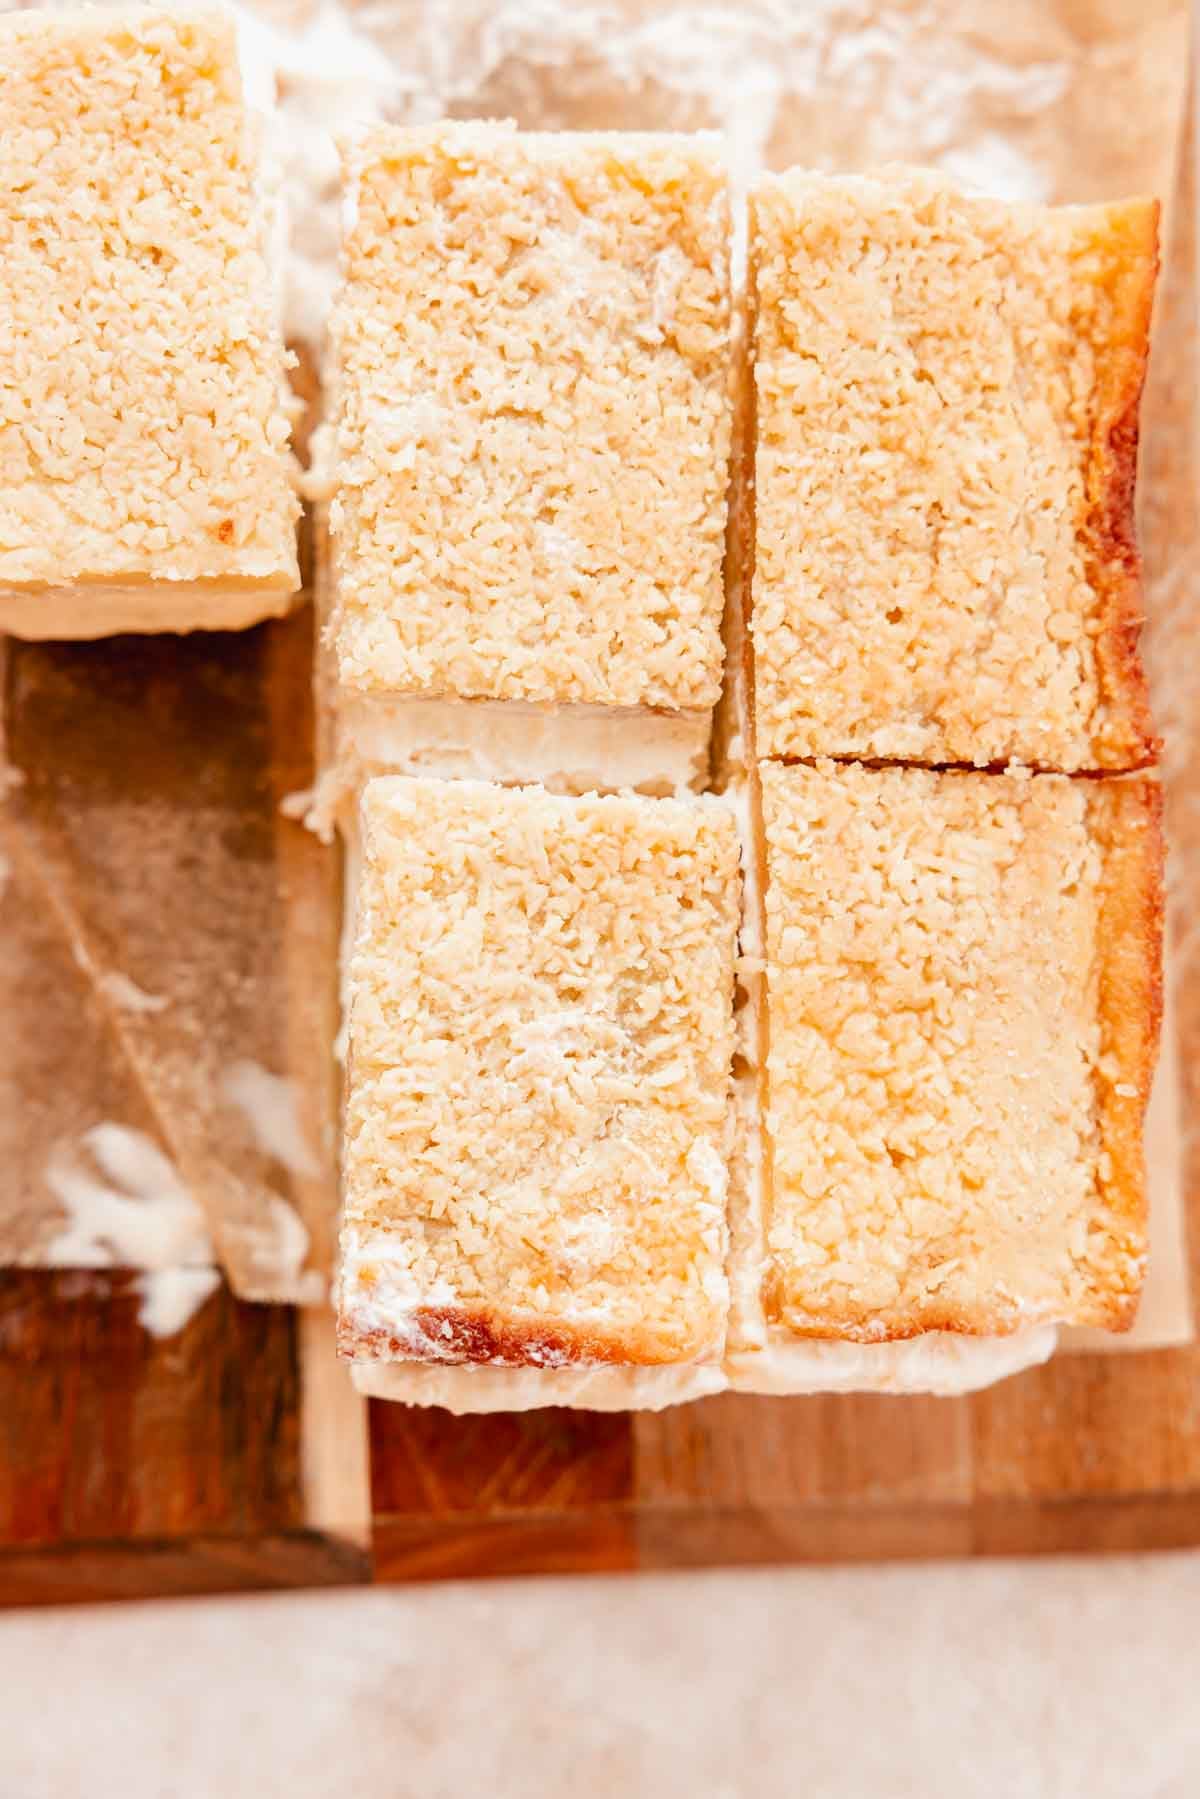
Step 6: Wrap individually in wax paper or plastic wrap and store in the freezer until you're ready to enjoy! Let the sandwiches sit at room temperature for 5-10 minutes to soften the mochi.
✔️ Expert butter mochi tips
- Whisk the butter mochi batter until fully smooth: This prevents lumps and you don't need to worry about overworking the batter because there isn't any gluten in it.
- Don't leave while the coconut toasts: It will go from white to burnt really quickly! Don't stop stirring it with a spatula or else it will burn.
- Allow the ice cream to fully freeze: Make it the day before so that it has enough time to freeze.
🥄 Make ahead and storage
You have to make the toasted coconut ice cream at least the day before so that it has enough time to freeze fully. You can bake the butter mochi the day before too so that it has enough time to cool or make it the day of and just leave enough cooling time.
Ice cream sandwiches are perfect to make ahead because they need time to completely freeze. You can store the butter mochi ice cream sandwiches for up to 3 months in the freezer. Wrap up the individual bars and store them in a freezer bag in the freezer, and grab one whenever you need an ice cream fix!
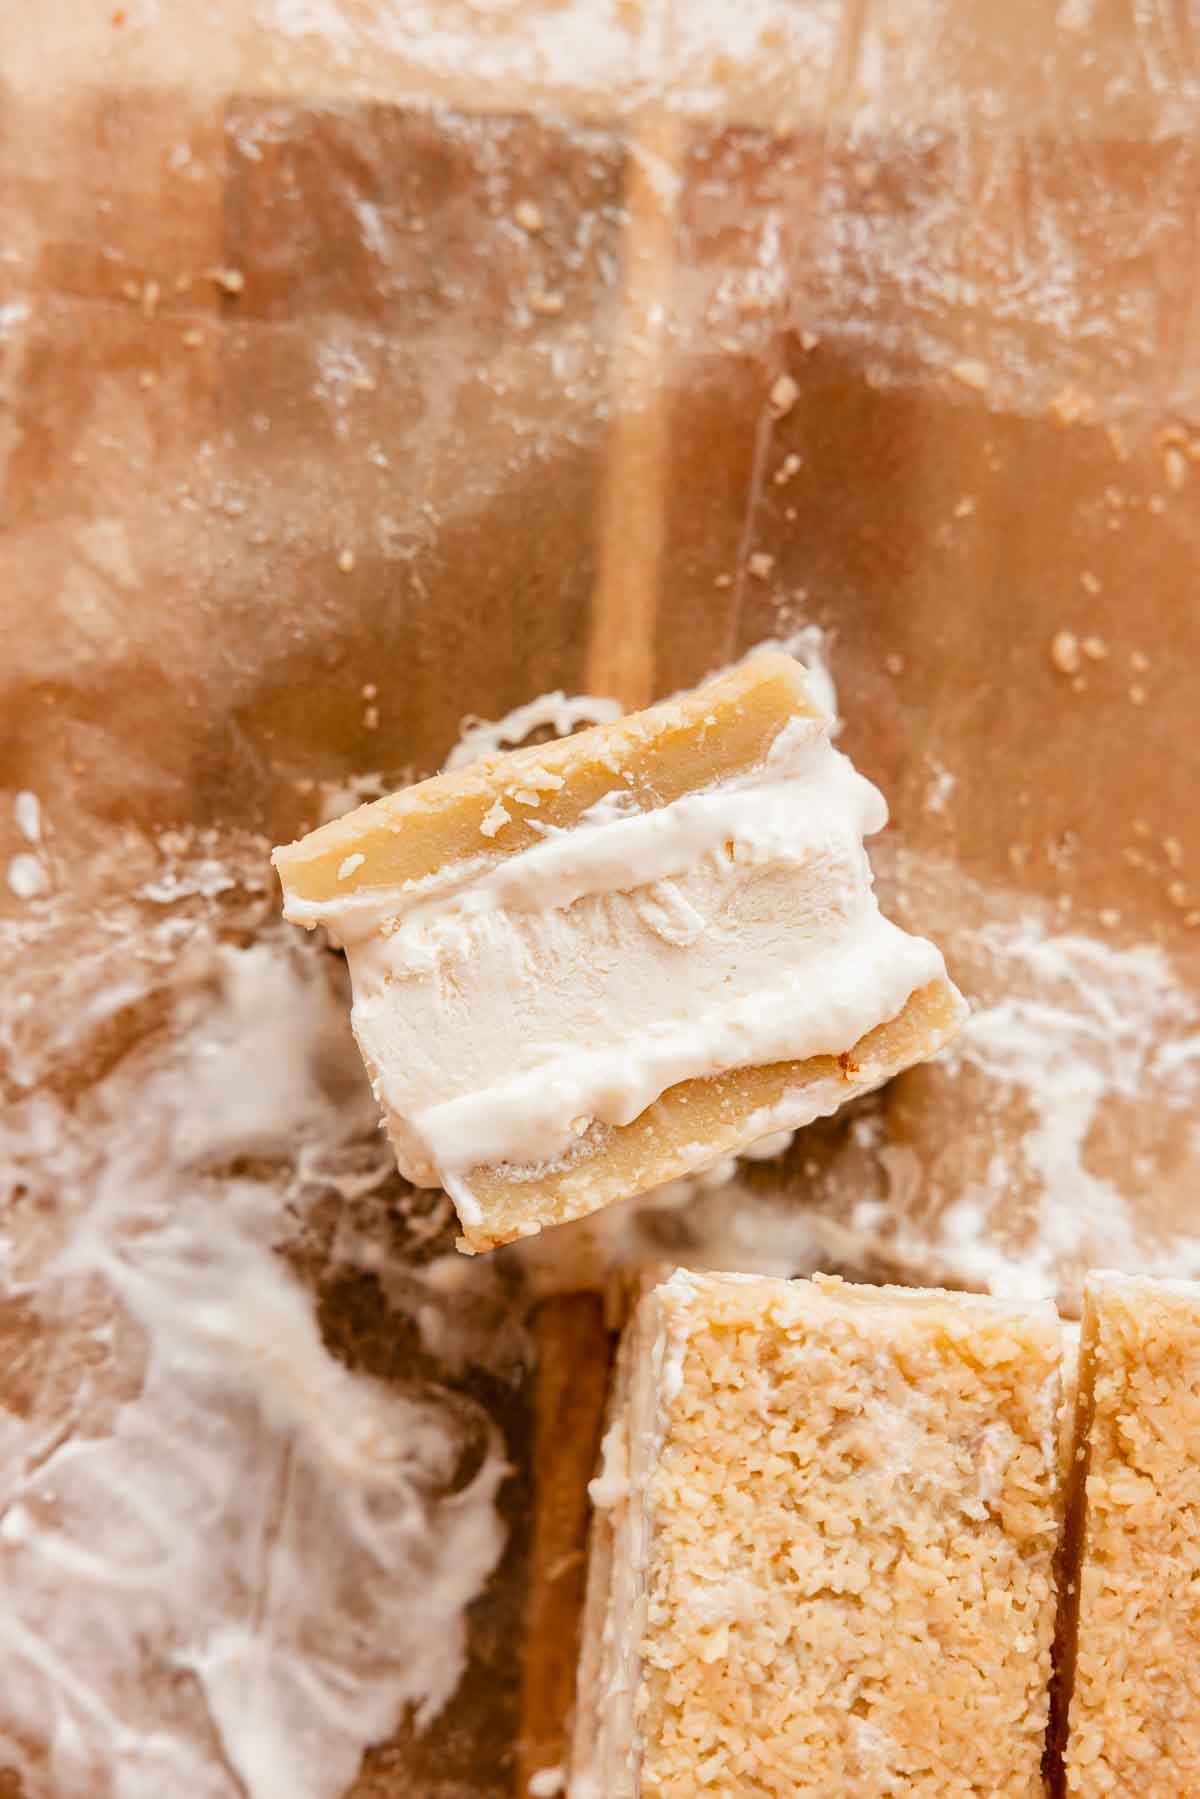
What other ice cream flavors can I add?
Customize these ice cream sandwiches with whatever flavors you like!
Use my delicious toasty brown butter ice cream to sandwich between the mochi. Try my puff pastry ice cream sandwiches that are filled with my no churn brown butter ice cream.
You can also use store-bought ice cream in any flavor to sandwich between the mochi. Soften it at room temperature for about 10 minutes. Make sure that it's slightly softened, not melted! Then you can transfer it into a lined square pan or scoop and spread it directly in between the butter mochi. Wrap and freeze the butter mochi to let the ice cream resolidify fully before cutting into pieces.
📖 Recipe FAQs
Yes they are naturally gluten free. They're made using glutinous rice flour which doesn't contain any gluten.
It's important to use glutinous rice flour because regular rice flour won't give that stretchy, mochi texture. It can also be called "mochiko" or "sweet rice flour".
Yes you can. Soften it at room temperature for about 10 minutes. Make sure that it's slightly softened, not melted! Then you can transfer it into a lined square pan or scoop and spread it directly in between the butter mochi. Wrap and freeze the butter mochi to let the ice cream resolidify fully.
🥥 More related recipes



Did you make this recipe? I would love for you to rate this recipe and hear what you think in the comments below! Share your creation on Instagram and tag @flouringkitchen. Follow me on Pinterest to save and for more recipe ideas.
📖 Recipe

Butter Mochi Ice Cream Sandwiches
Equipment
- nine inch by twelve inch baking pan
- nine inch square pan
Ingredients
Toasted Coconut Ice Cream
- ¼ cup shredded coconut sweetened or unsweetened
- 2 cups heavy whipping cream 35% cream, chilled
- 14 oz sweetened condensed milk 1 can 300mL
- 1 teaspoon pure vanilla extract
- ½ teaspoon coconut extract optional
- 6.75 oz canned coconut milk half of one 13.5 oz (400mL) can coconut milk
- ¼ teaspoon sea salt
Butter Mochi
- 1 ½ cups glutinous rice flour mochiko, or sweet rice flour (not regular rice flour)
- 1 cup granulated sugar
- 1 teaspoon baking powder
- ¼ teaspoon sea salt
- 1 cup whole milk room temperature
- ¼ cup butter (salted or unsalted), melted
- 2 large eggs room temperature
- 1 teaspoon pure vanilla extract
- 6.75 oz canned coconut milk half of one 13.5 oz (400mL) can coconut milk
- ¼ cup shredded coconut sweetened or unsweetened
Instructions
Toasted Coconut No Churn Ice Cream
- Toast the coconut in a dry pan on medium heat, stirring constantly until golden. Immediately transfer it into a bowl to cool.¼ cup shredded coconut
- Whip the cream to stiff peaks with a whisk or electric mixer.2 cups heavy whipping cream
- Add sweetened condensed milk, vanilla and coconut extract, ½ can of coconut milk (save the other half for the mochi), and the cooled toasted coconut into the cream.14 oz sweetened condensed milk, 1 teaspoon pure vanilla extract, ½ teaspoon coconut extract, 6.75 oz canned coconut milk, ¼ teaspoon sea salt
- Transfer the ice cream into a parchment or plastic wrap lined 9" square pan. Cover and freeze for at least 8 hours or overnight.
Butter Mochi
- Combine glutinous rice flour, granulated sugar, baking powder, and sea salt in a large bowl. Whisk well.1 ½ cups glutinous rice flour, 1 cup granulated sugar, 1 teaspoon baking powder, ¼ teaspoon sea salt
- Add milk, melted butter, eggs, vanilla extract, and coconut milk into the bowl. Whisk well to break up any lumps.1 cup whole milk, ¼ cup butter, 2 large eggs, 1 teaspoon pure vanilla extract, 6.75 oz canned coconut milk
- Pour the batter into a parchment lined 9" by 12" baking pan. Sprinkle coconut on top.¼ cup shredded coconut
- Bake at 355°F (180°C) for 30-35 minutes until the top is bubbling and the edges are very golden brown and crisp.
- Let the butter mochi cool inside the pan. Flip it out onto a parchment lined cutting board and cut it in half. Freeze the two halves for at least 25 minutes (or overnight) before sandwiching the ice cream between them.
- Unwrap the ice cream and sandwich it between two layers of butter mochi. Cut it into 8 rectangles.
- Wrap individually in wax paper or plastic wrap and store in the freezer until you're ready to enjoy! Let the sandwiches sit at room temperature for 5-10 minutes to soften the mochi.
Karrilyn
where i live 8x8 and 9x13 pans are what are the norm. Will it be ok to use these?
Mary
You could definitely use those! If they're an inch off, it doesn't make much of a difference here.